Member-only story
Build a Simple Counter with JavaScript
Learn how to create a basic counter using vanilla JavaScript to count up, down, and reset effortlessly
Introduction
Counters are a common feature in many applications, and creating one using vanilla JavaScript is easier than you might think. In this tutorial, we’ll guide you through the process of building a simple counter with three buttons: decrease, reset, and increase.
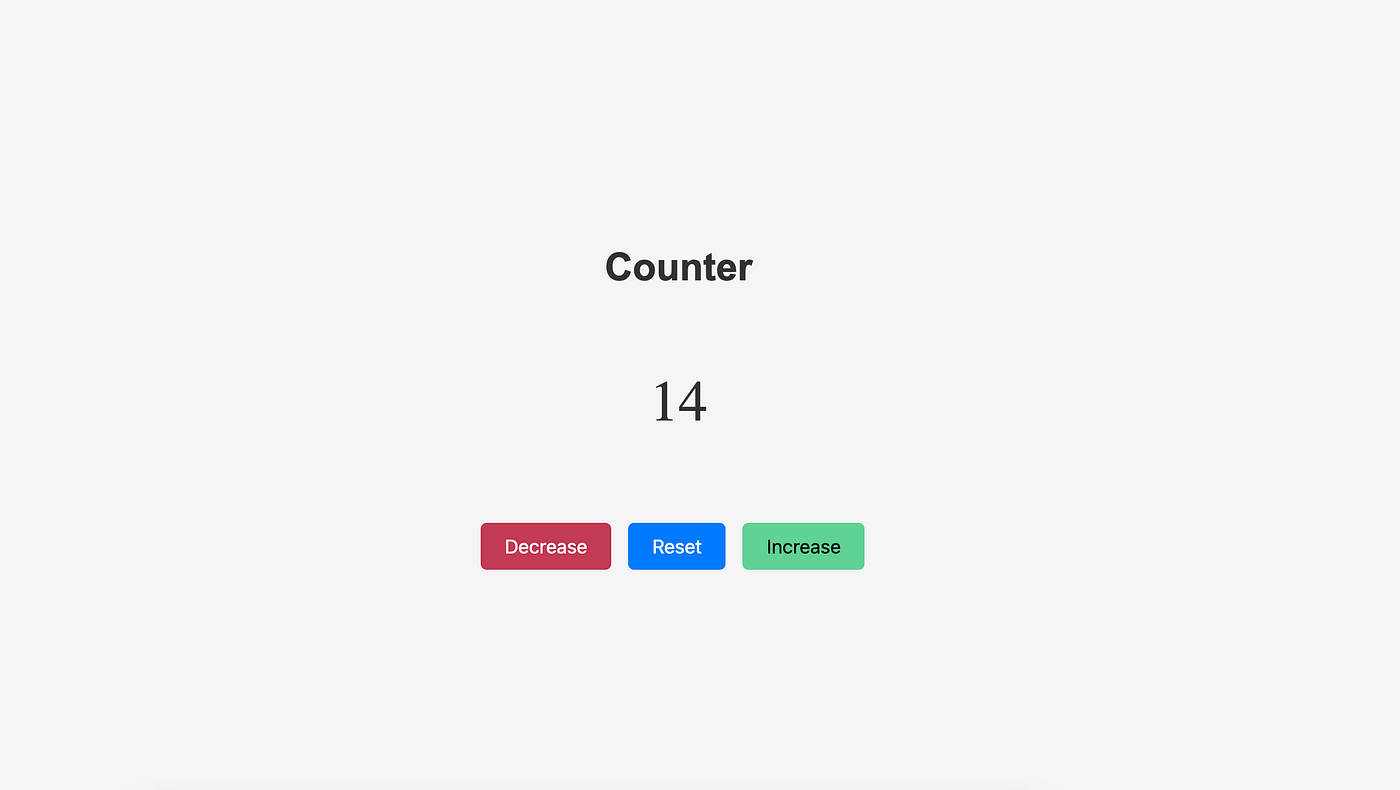
Your users will be able to increment, decrement, and reset the counter with just a click. Here is a preview of our counter:
Step 1: Setting up the HTML structure
To begin, let’s create the basic HTML structure for our counter.
<!DOCTYPE html>
<html>
<head>
  <title>Counter</title>
  <link rel="stylesheet" type="text/css" href="styles.css">
</head>
<body>
  <h1>Counter</h1>
  <div id="counter-container">
    <p id="count">0</p>
    <div id="button-container">
      <button id="decrease-button">Decrease</button>
      <button id="reset-button">Reset</button>
      <button id="increase-button">Increase</button>
    </div>
  </div>

  <script src="script.js"></script>
</body>
</html>
Step 2: Styling the elements
To make our counter visually appealing, let’s add some CSS styles.
body {
  display: flex;
  flex-direction: column;
  align-items: center;
  justify-content: center;
  height: 100vh;
  margin: 0;
  background-color: #f5f5f5;
}

h1 {
  font-family: Arial, sans-serif;
  color: #333;
  margin-bottom: 0;
}

#counter-container {
  display: flex;
  flex-direction: column;
  align-items: center;
  margin-top: 20px;
}

#count {
  font-size: 48px;
  color: #333;
}

#button-container {
  margin-top: 20px;
}

button {
  padding: 10px 20px;
  font-size: 16px;
  background-color: #007bff;
  color: #fff;
  border: none;
  border-radius: 5px;
  cursor: pointer;
  margin-right: 10px;
}

button#decrease-button{…